Who doesn’t love pie? Seriously, what could be better? Lovely fruit, swimming in slightly sweetened syrup, enveloped in a buttery pastry? And don’t even get me started on warm pie with ice cream!
I don’t make pies all that often, and fruit pies even less often. So when I do, I try to use whatever fruit is in season. You will note here, that cherry season is actually in June here in the Northwest, and we are known more for our Bings than our “pie cherries”, aka tart cherries, at least here in Washington State. So it is NOT cherry season, but even if it were, I would be hard-pressed to find pie cherries.
This week, Teresa is not in town, so I had the chance to sneak in a cherry pie, since for some reason, she doesn’t like cherry pie! What? Who ever heard of such a thing? Crazy, I know! We can discuss that at another time. But, suffice it to say, I had to use this opportunity to make one of my favorite pies, the Classic Cherry Pie.
Now, just so you know, I am expecting a lot of pies in my future. My children come from good, strong, pie-baking stock. That’s right! My mom grew up on a farm in Kansas, one of 6 children. I remember Grandma Martin saying she used to bake 2 pies a day during the harvest. My Aunt Mary tells stories of cherry-picking (the horror!), so I imagine cherry pie was a family favorite. My dad’s mom was also an excellent pie-maker. Whenever we would visit, she would make my dads favorite, Sour Cream-Raisin Pie. That is one of my all-time favorites. It falls into the category of “who knew this could be so good?” Don’t worry, I will post that one at some point!
My husband’s grandma also used to be a pie-maker. She worked, making many many pies a day to sell at the railstop, the place she met her husband, coincidentally. I’m guessing she was a pretty good pie maker, too! So, hopefully, the pie-making gene will have made it into my children, who can carry on the pie tradition!
So, anyways, I had been seeing jars of “Dark Morello Cherries” that come in a jar at my local Trader Joes for the past couple years, wondering if they make good pie cherries. They are sour cherries, so I figured I would give them a try. (Note: Oregon Brand Pie Cherries also produce excellent results.)
I also decided to try a lattice-top. For some reason, cherry pie seems to be the perfect pie for a lattice. (It reminds me of a red gingham apron) In the spirit do full disclosure, I have to say, my previous attempt at this failed miserably. So I looked up methods of how to do it easily. It is easier to look at drawings and photos than to read the instructions, so I have added several photos of that process. I have to say that after studying the process, it went rather well. Especially if you like a “rustic” look to the pie. And, you know, nothing has to be absolutely perfect with a pie. It’s not a fussy dessert. Besides, if anything goes really wrong, just cover it up with ice cream!
So there is no crazy or secret ingredient here, just simple ingredients, no artificial flavorings or crazy colorings. Only good things. If you are a fan of the Breaking Bad Spinoff, Better Call Saul, then you will understand, “S’all Good, Man!”
Tart Cherry Pie
For the crust:
2 1/2 c all-purpose flour
1 1/4 t fine salt
1 T sugar
1 c (2 sticks) COLD butter, cut into 1/2 inch cubes
1/2-3/4 c ice water
For the cherry filling:
2 lb pitted tart cherries, canned or jarred is ok (I used 2 jars Trade Joe’s Morello cherries in the 24.7 oz jar, and added 1/2c of the juice, and have also used 3 cans Oregon Brand Tart Red Cherries with 1/2 c liquid)
1/4 c Cornstarch
1 c sugar
1/2 t fine salt
1 1/2 t vanilla extract
1/4 t almond extract (optional)
1 egg, separated
Instructions:

Pie Crust Ingredients
First, make the crust. Put your cubed butter in the freezer until you have the other ingredients ready, so it stays cold. To keep your ice water cold, take a 1-cup measure, and fill to the 1/2 c mark. Then add a few ice cubes until it reaches the 3/4 c mark. This way, you know you have the maximum amount of water in the cup, but can use less if you need it.
Whisk together the flour, sugar and salt. Take your butter from the freezer and sprinkle the cubes on top the flour mixture. Using a pastry cutter (or 2 knives), cut in the butter until the mixture is the size of peas. This takes some patience, just keep cutting in butter with your right hand as you turn the bowl with your left (or vice-versa if you are left-handed). You could also do this step in a food processor for added ease.
Next, drizzle in the water a Tablespoon at a time, mixing with a large spoon after each addition. You will notice the “globs” get a bit bigger with each addition. After adding 1/2 c of the water, pick up a bit of dough and squeeze it in your hand. If it holds together, it is ready for the next step. Do not read the rest of this paragraph and second-guess its readiness. If the clump in your hand holds together, it is ready. If not, keep adding water, a Tablespoon at a time, until you reach this point. For this recipe, I used a total of 10T.
Turn it out onto a floured board or countertop. Gather up the dough into 2 separate pieces of roughly equal size. Fold it over on itself just a couple of times. The dough at this point should feel pliable, and should not stick to your hands. Press each piece into a disk a out 3/4 ” thick, and wrap in plastic wrap. Refrigerate at least 1 hour and up to 2 days.

Dough should be pliable and barely sticky
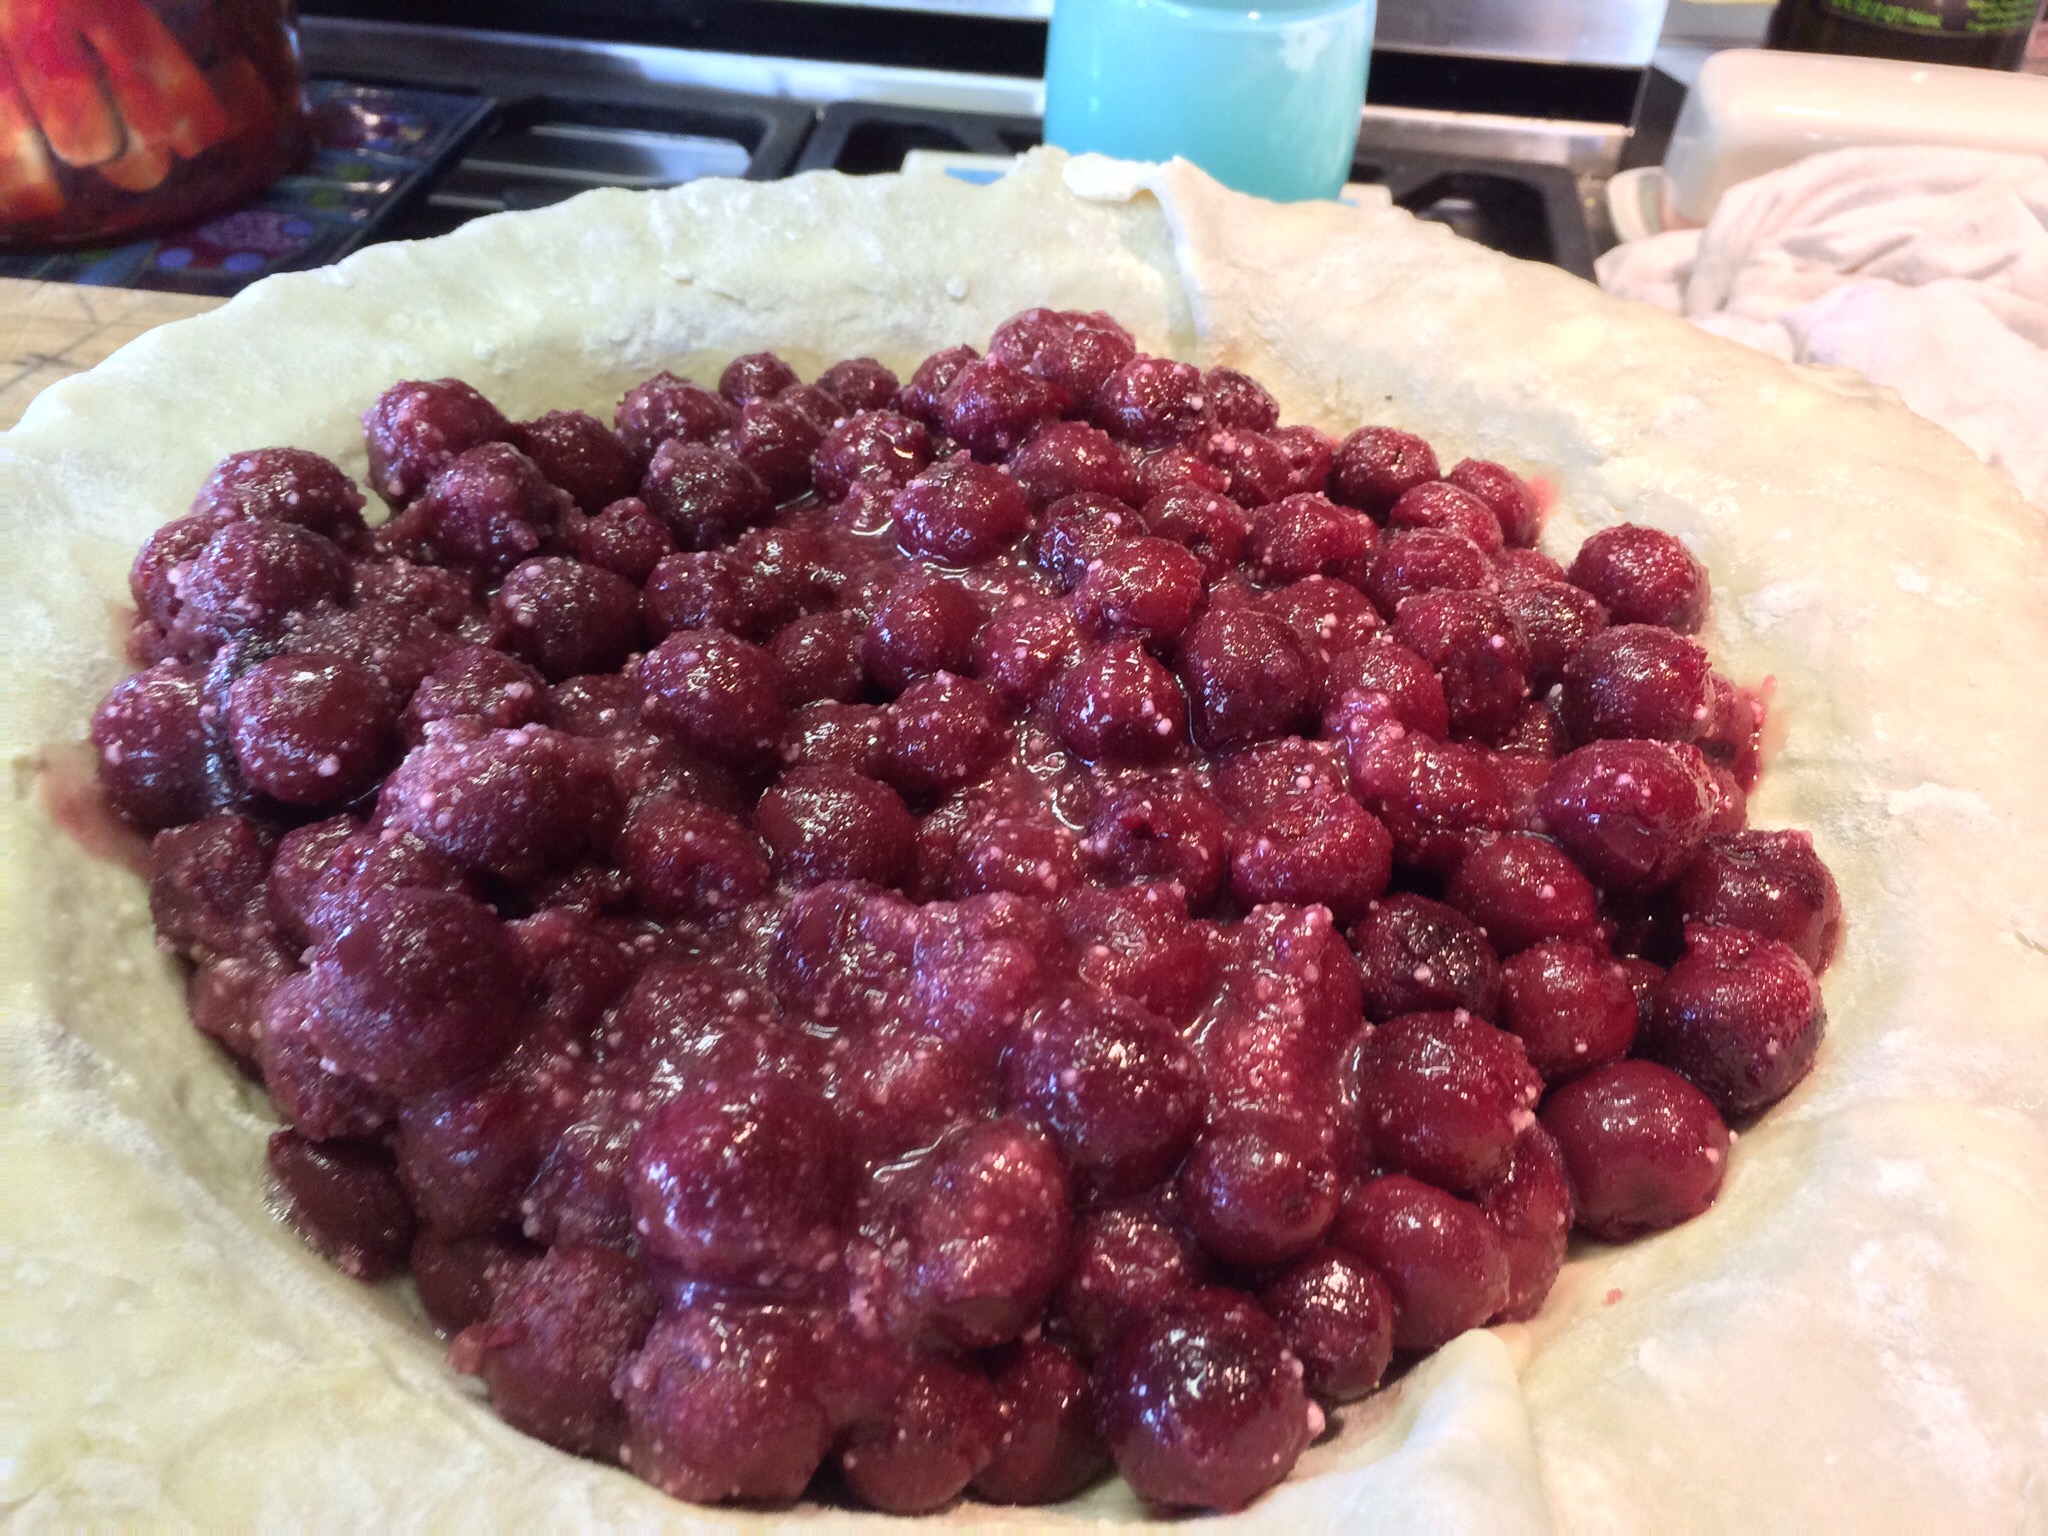
In a large saucepan, place the cherries (and 1/2 c liquid if using jarred or canned cherries), the cornstarch, salt and sugar. Stir until ingredients are distributed evenly. Heat over medium to medium high heat until boiling. Turn down heat and simmer for 1 minute. Add vanilla and almond extract, if using. The liquid will have have thickened and become smooth. Cool.
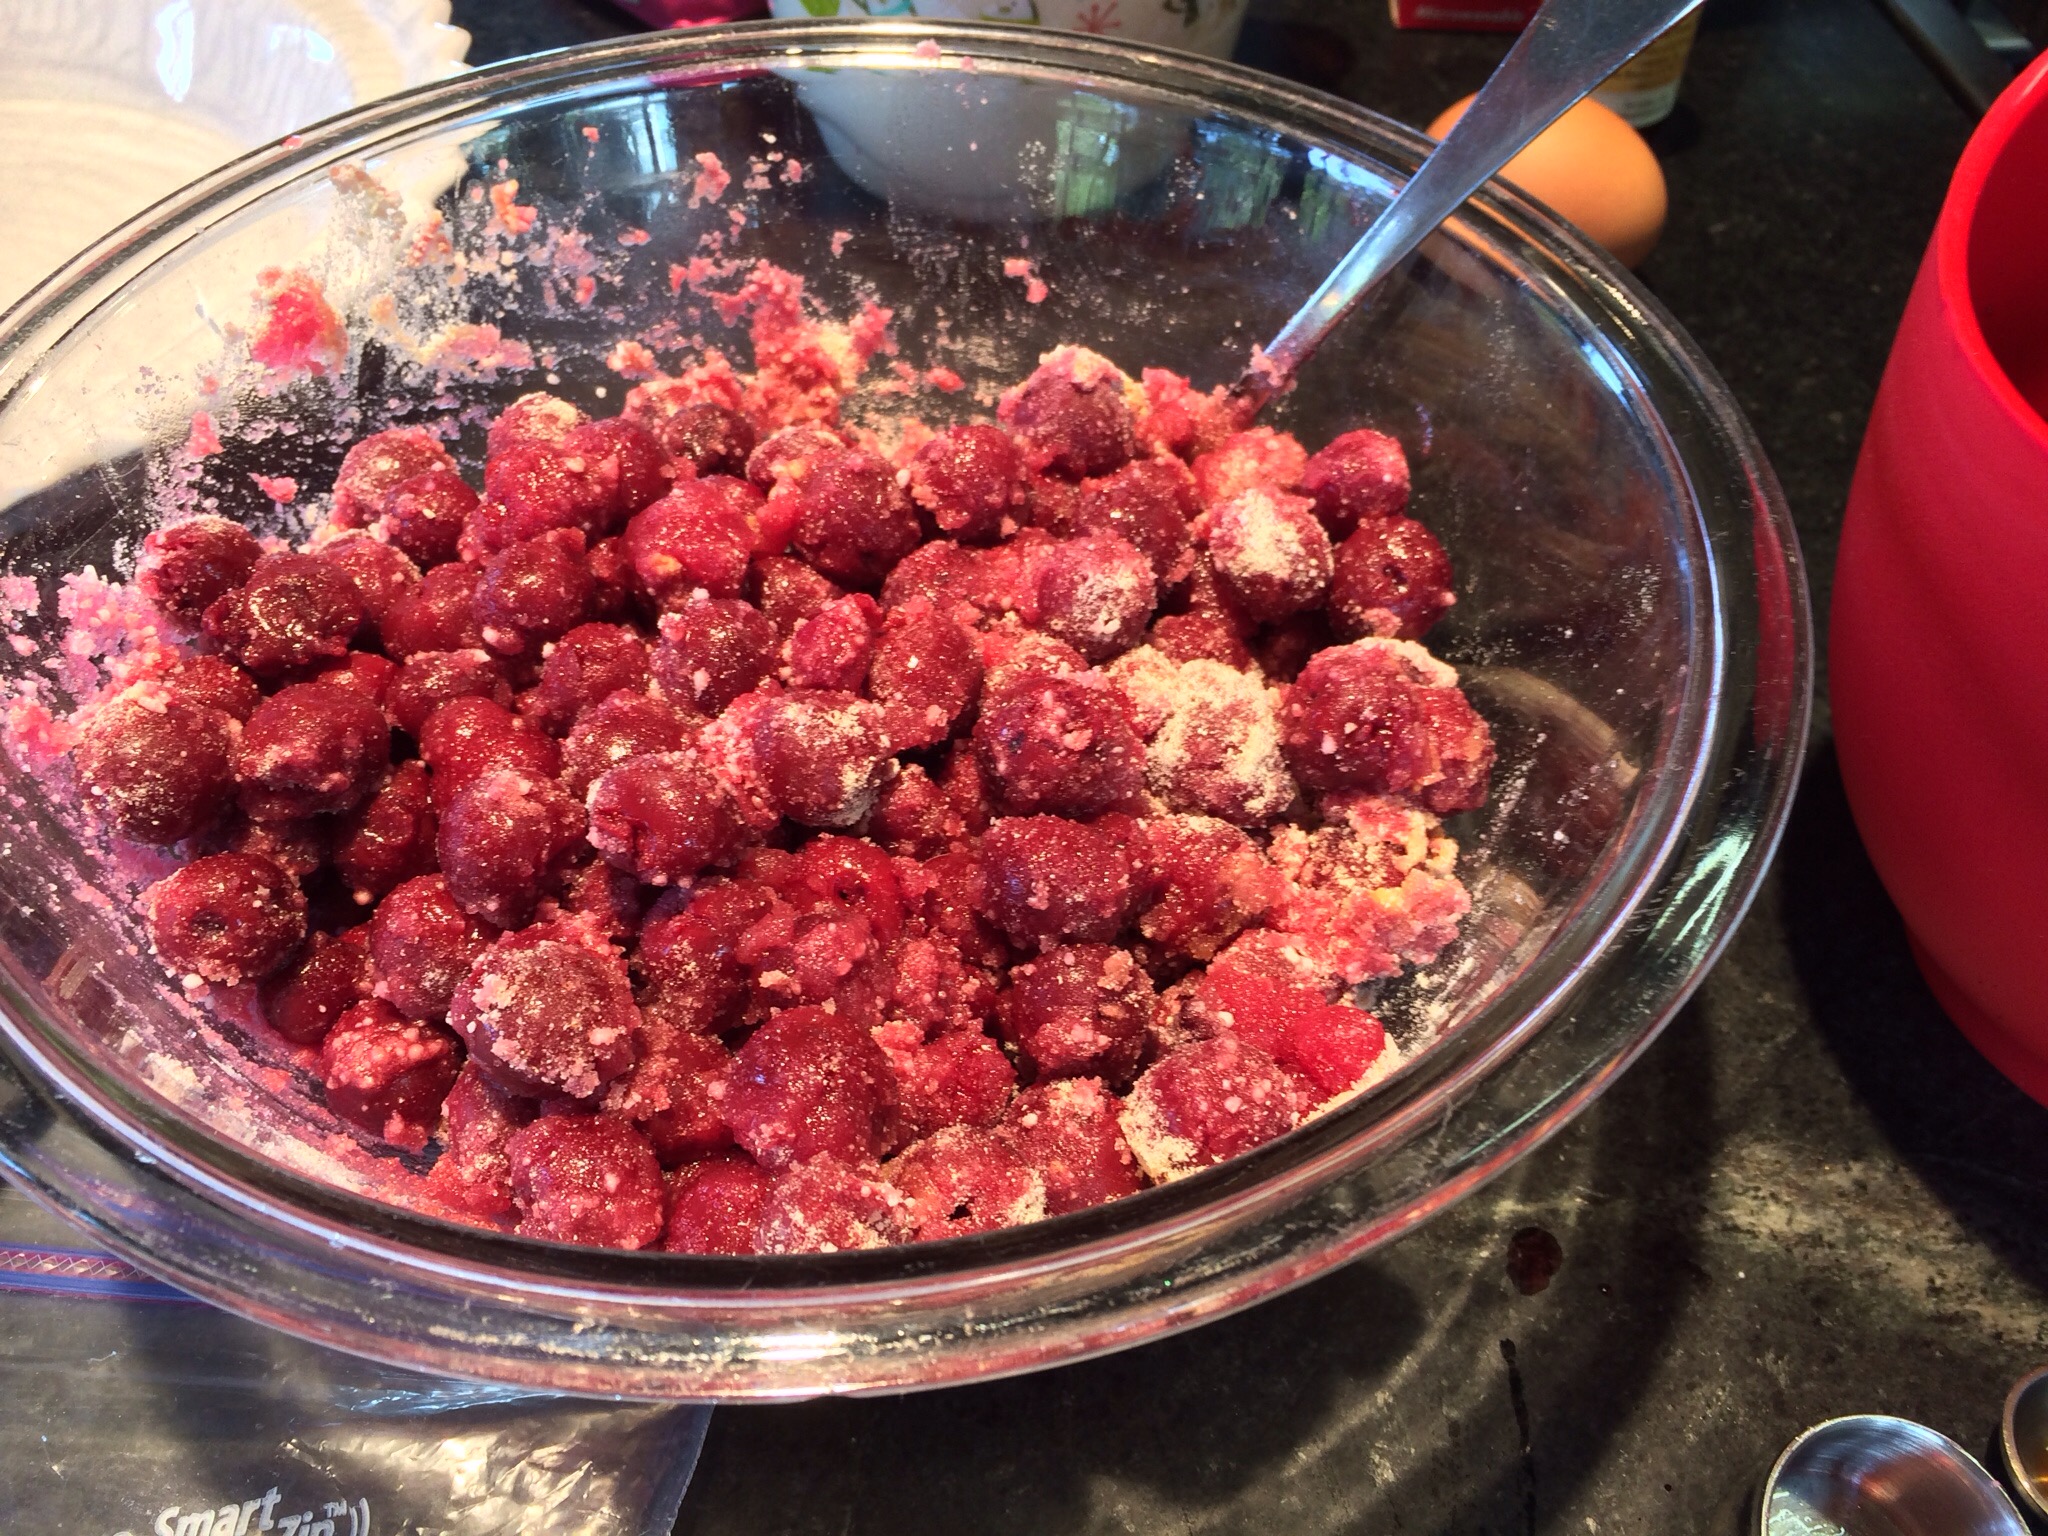
Filling ingredients, ready to heat
When you are ready to assemble and bake your pie, preheat oven to 400 degrees.
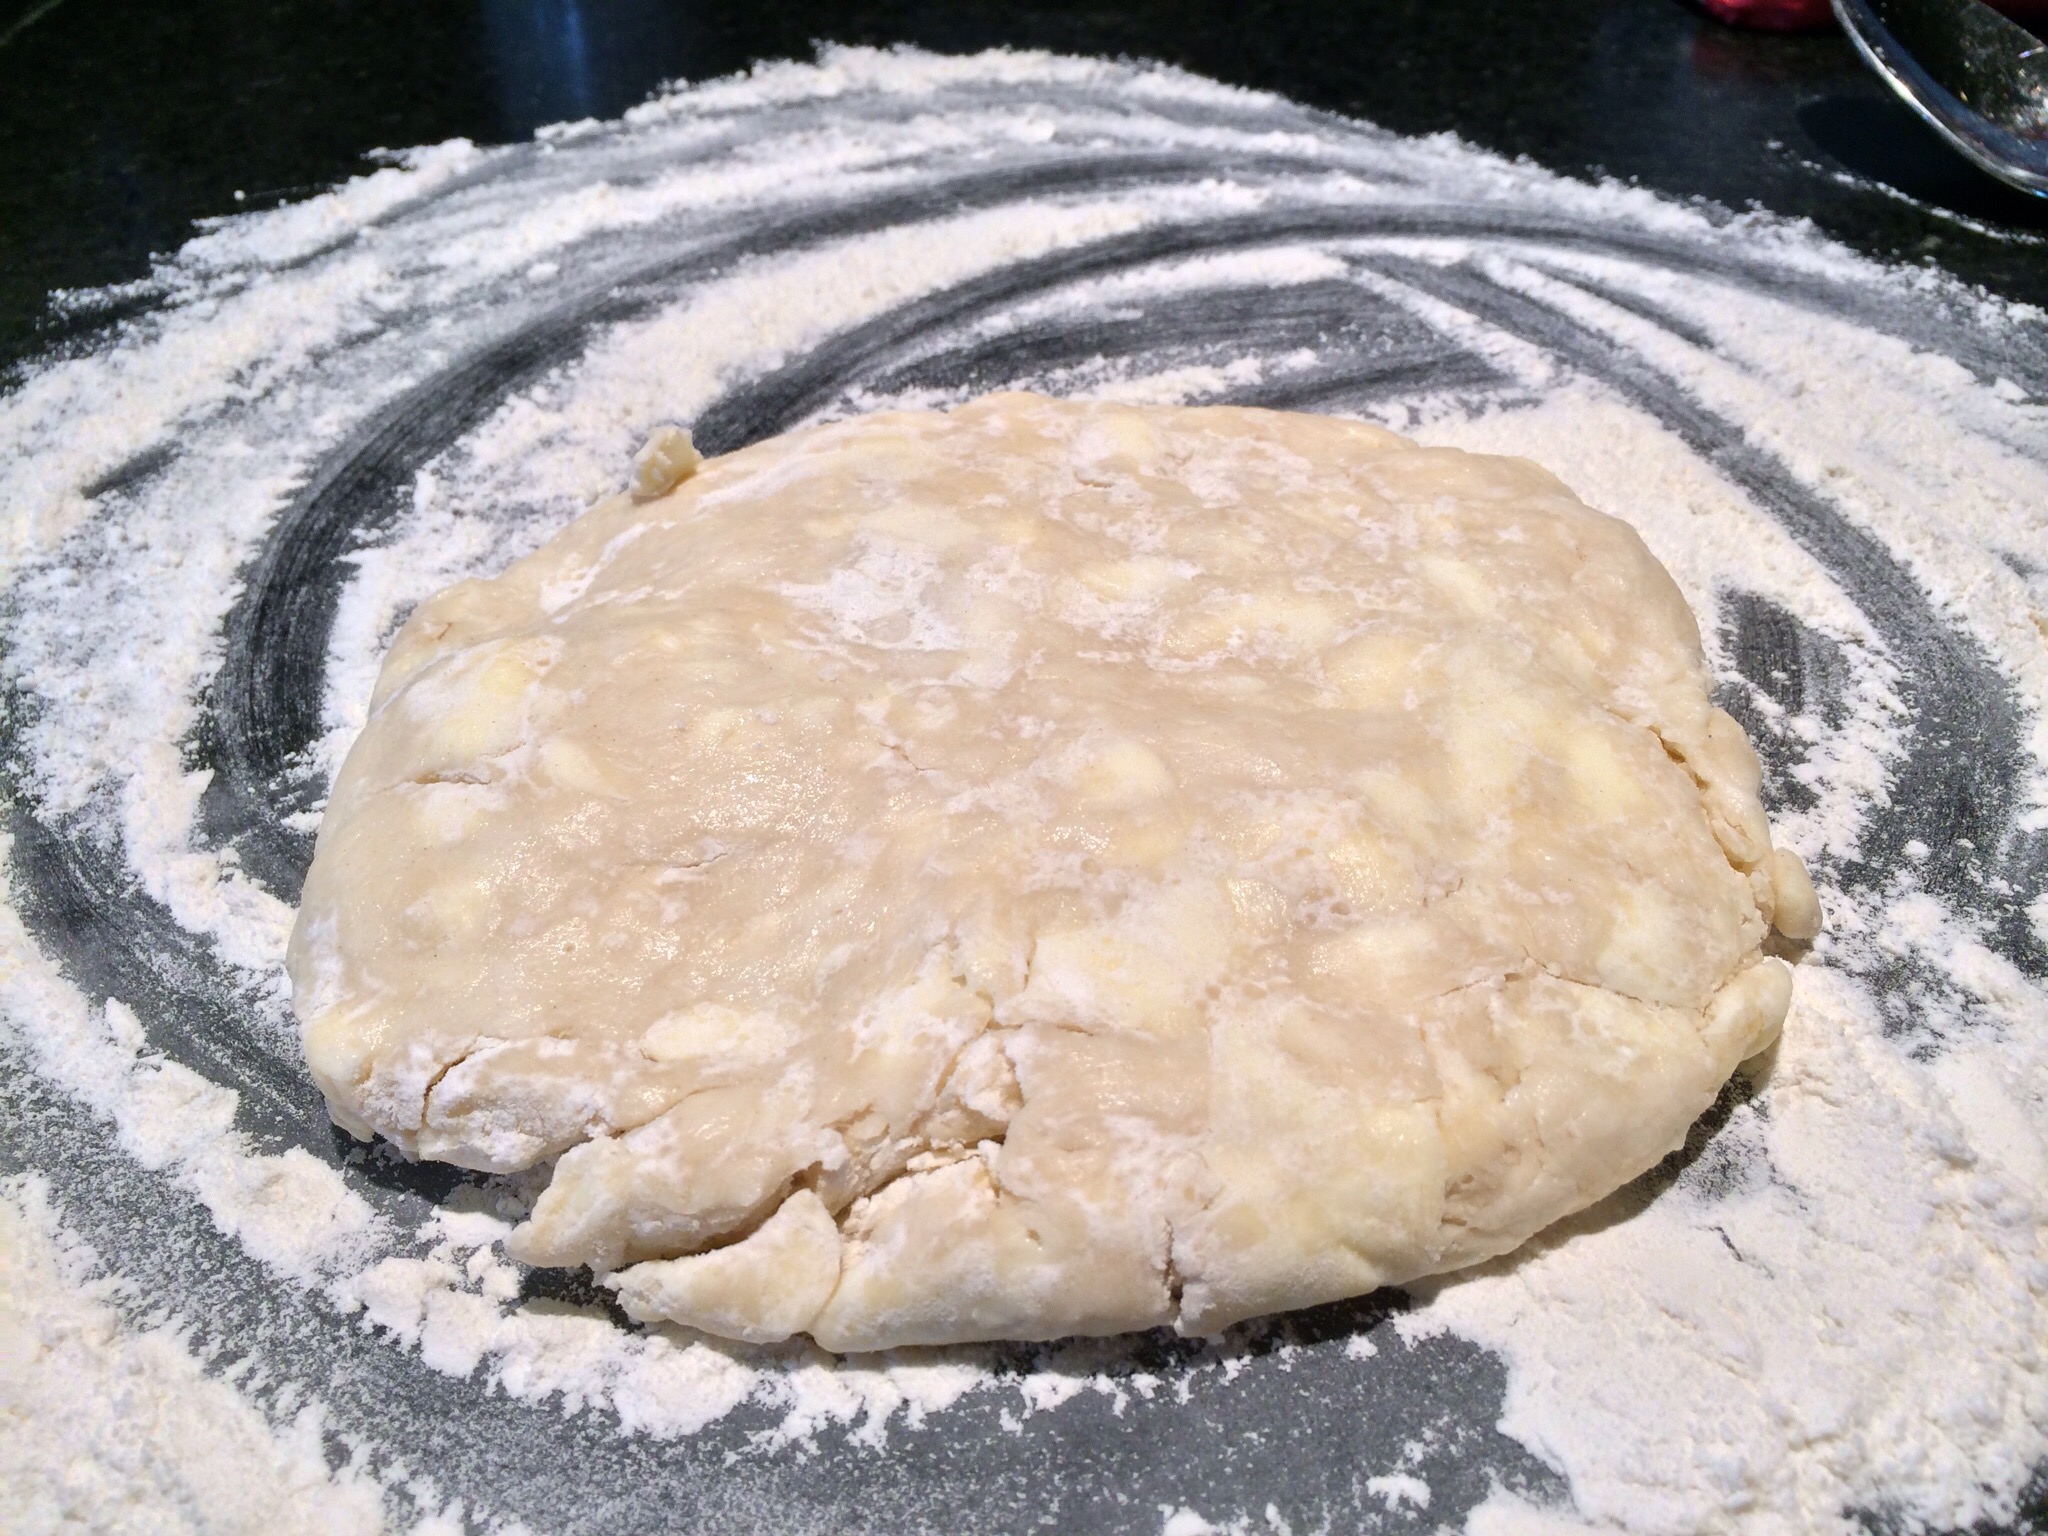
Butter bits should still be visible
In a floured surface, roll out your bottom crust to about 12″ diameter. Place into a 9″ pie plate, edges hanging over the sides. Brush lightly with the egg white. This is to help prevent the dreaded “soggy bottom” crust.
Pour the cherry mixture into the bottom crust.
Roll out the top crust to 12″ diameter, or a little smaller is ok for the top crust. If you are not making a lattice-top, gently place it atop the cherries, and cut 4-6 slits , each about 1 1/2″ long in the crust. This vents the steam while baking.
To make a lattice-top, use a pizza cutter to cut your rolled-out crust into 1″ – 1 1/2″ wide. If you don’t mind a rustic look, don’t worry so much about them all being the exact same width. I think a little bit irregular looks just great!
Build the lattice:

Lay out columns first, then add rows
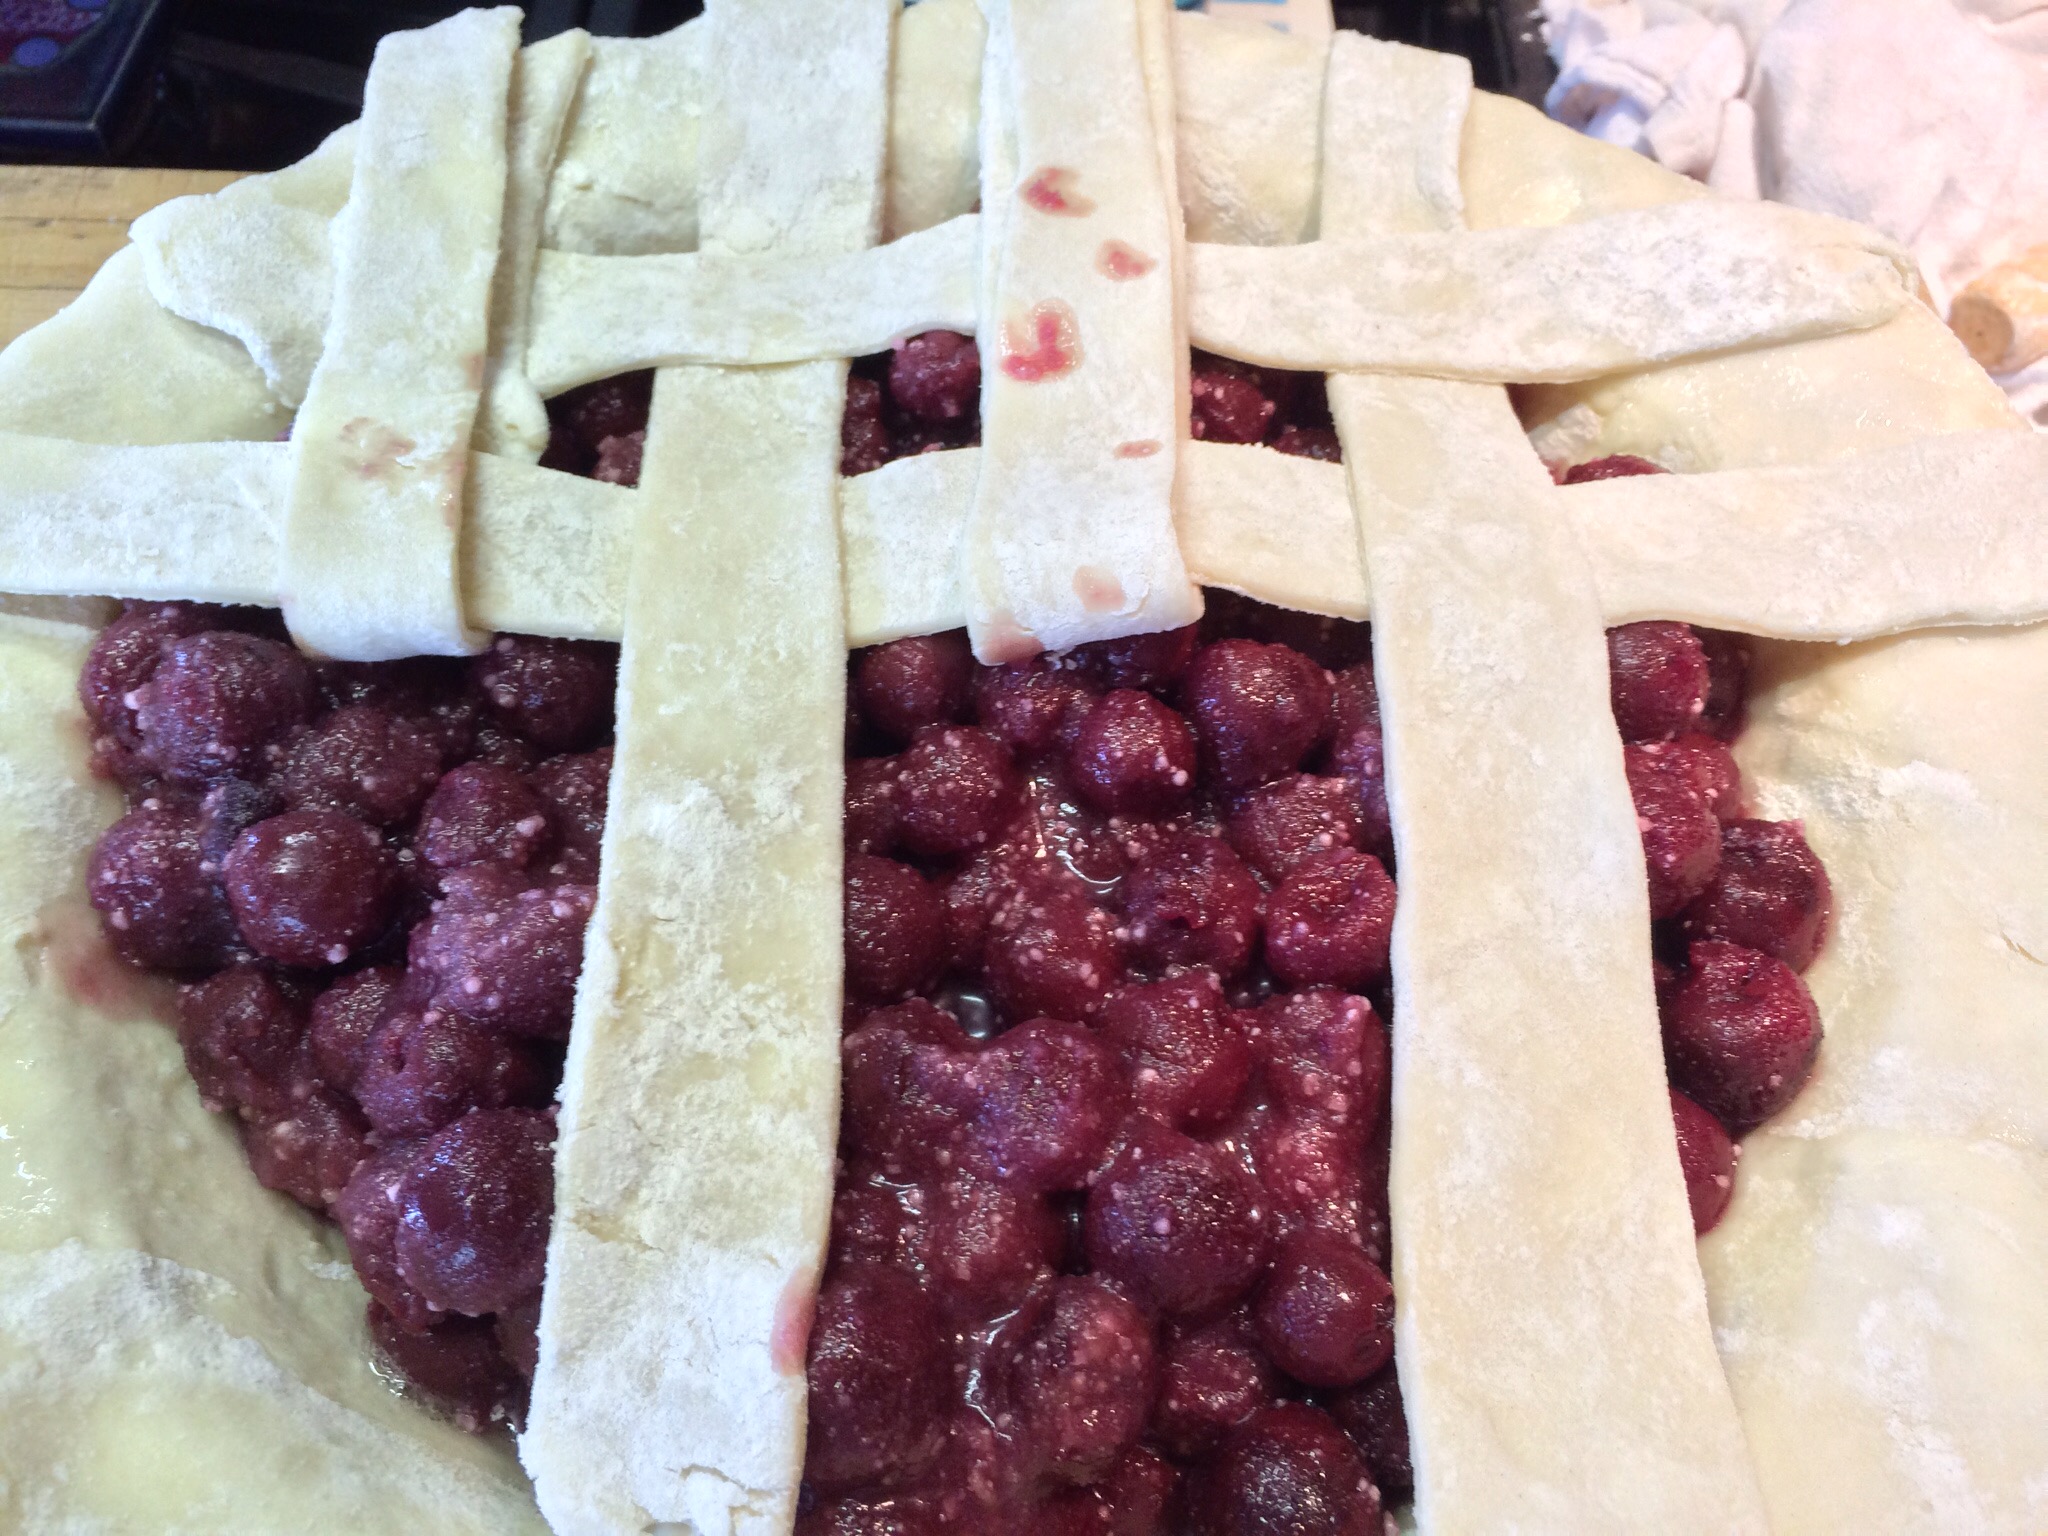
Turn back alternating columns to position each new row
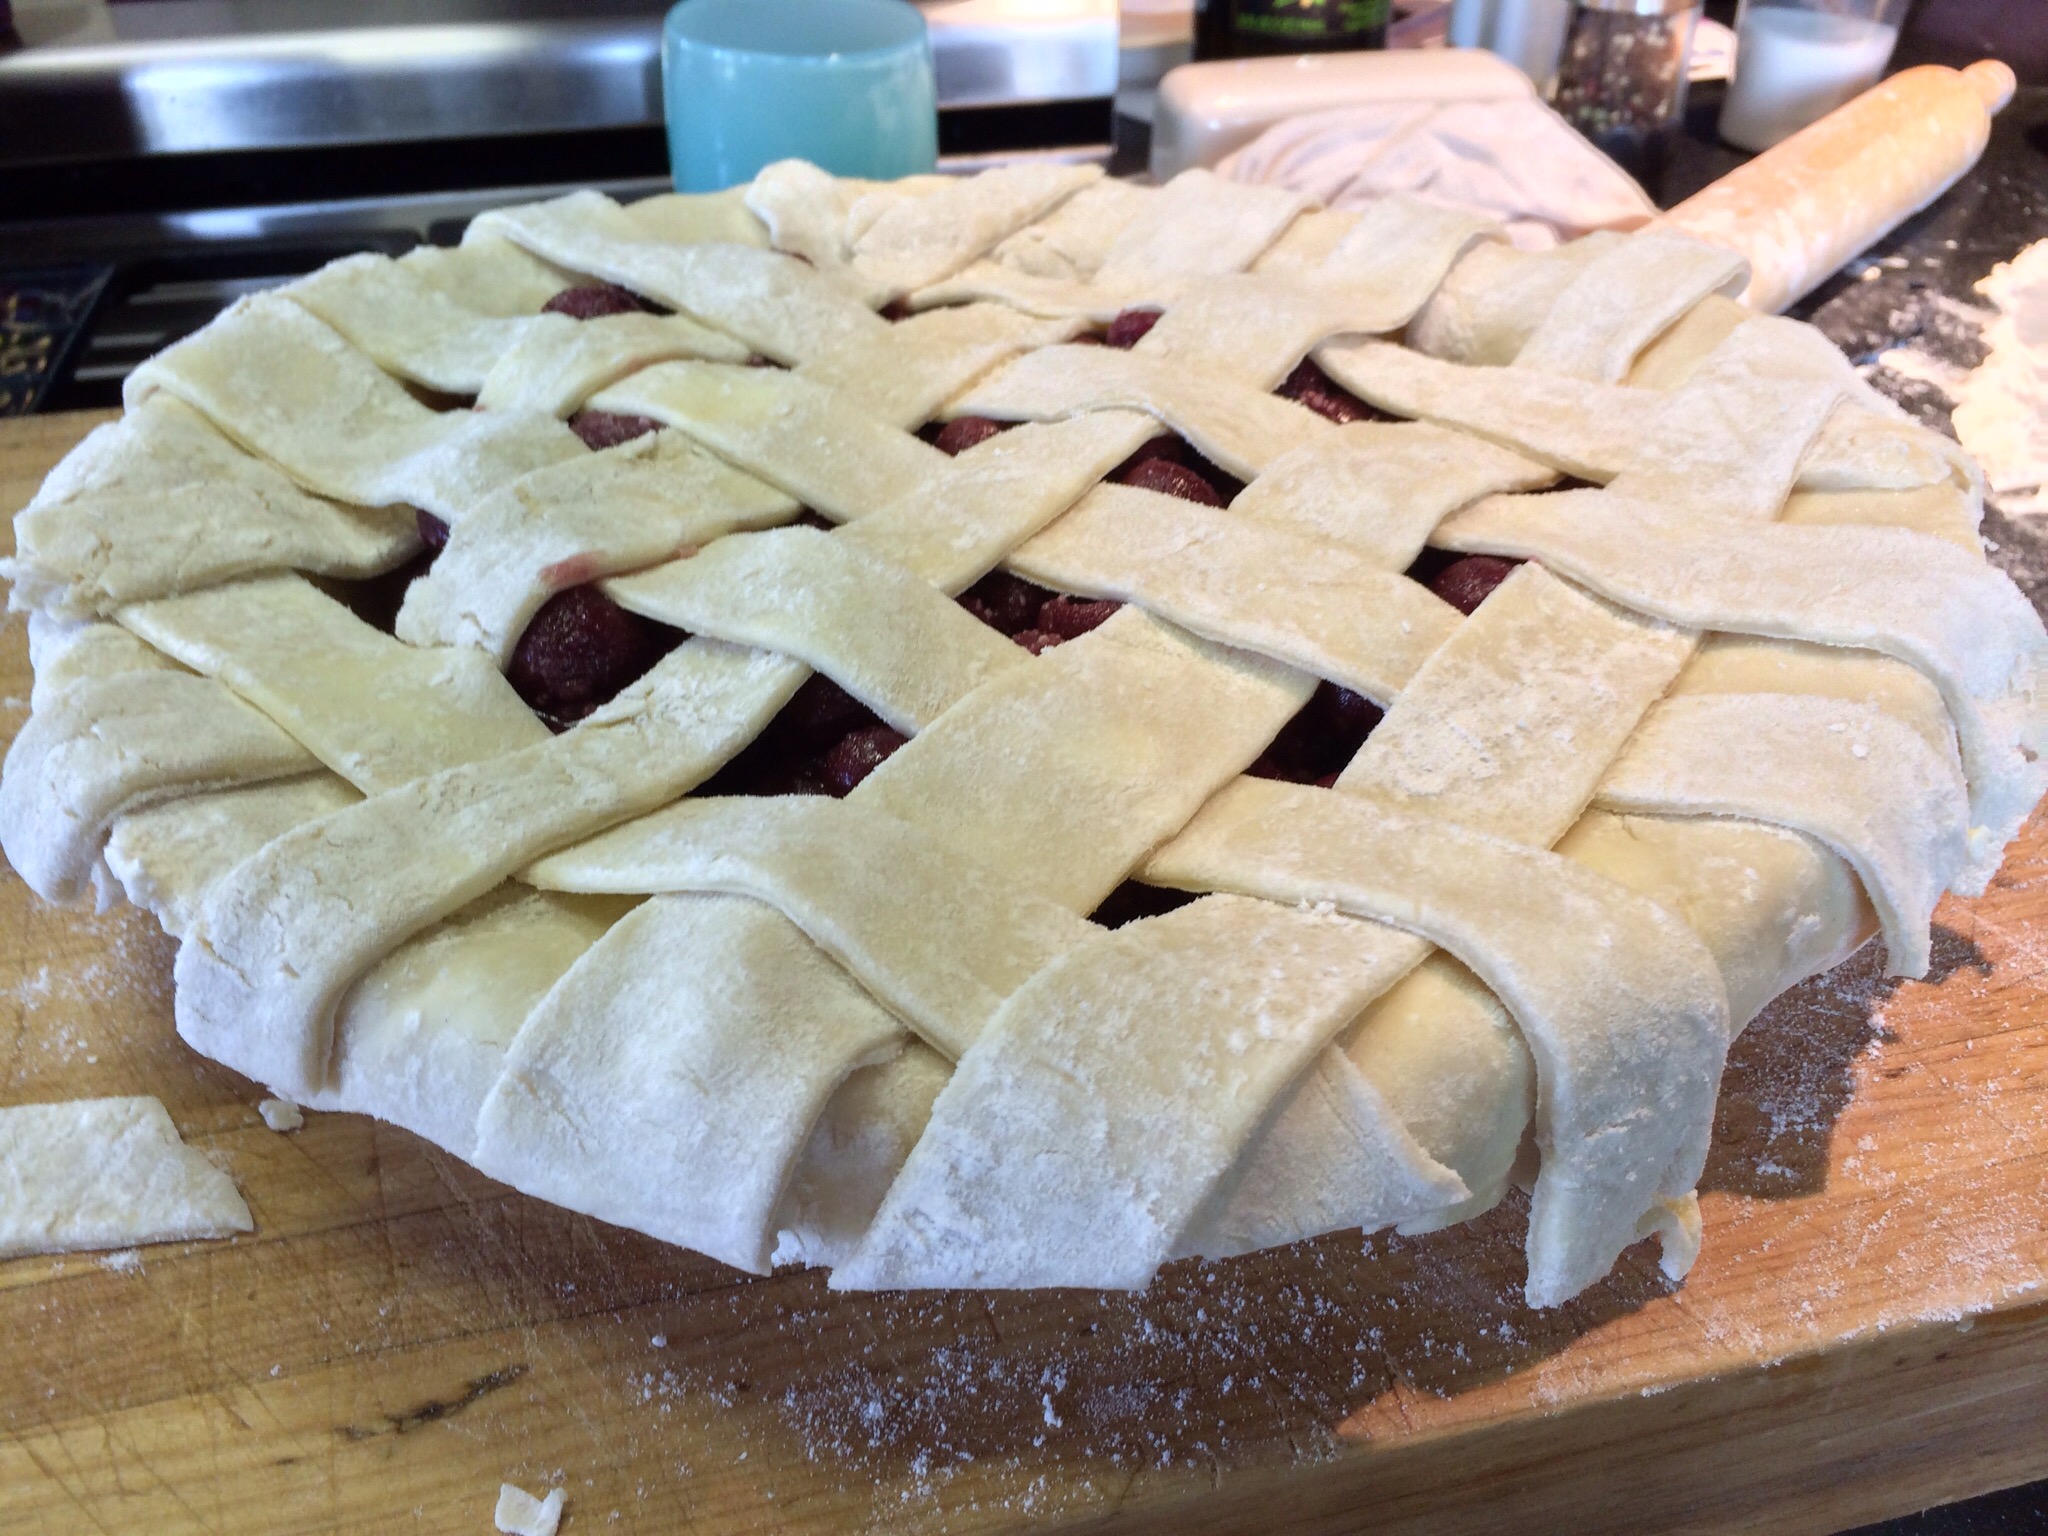
Trim to about 3/4″ outside of pie plate
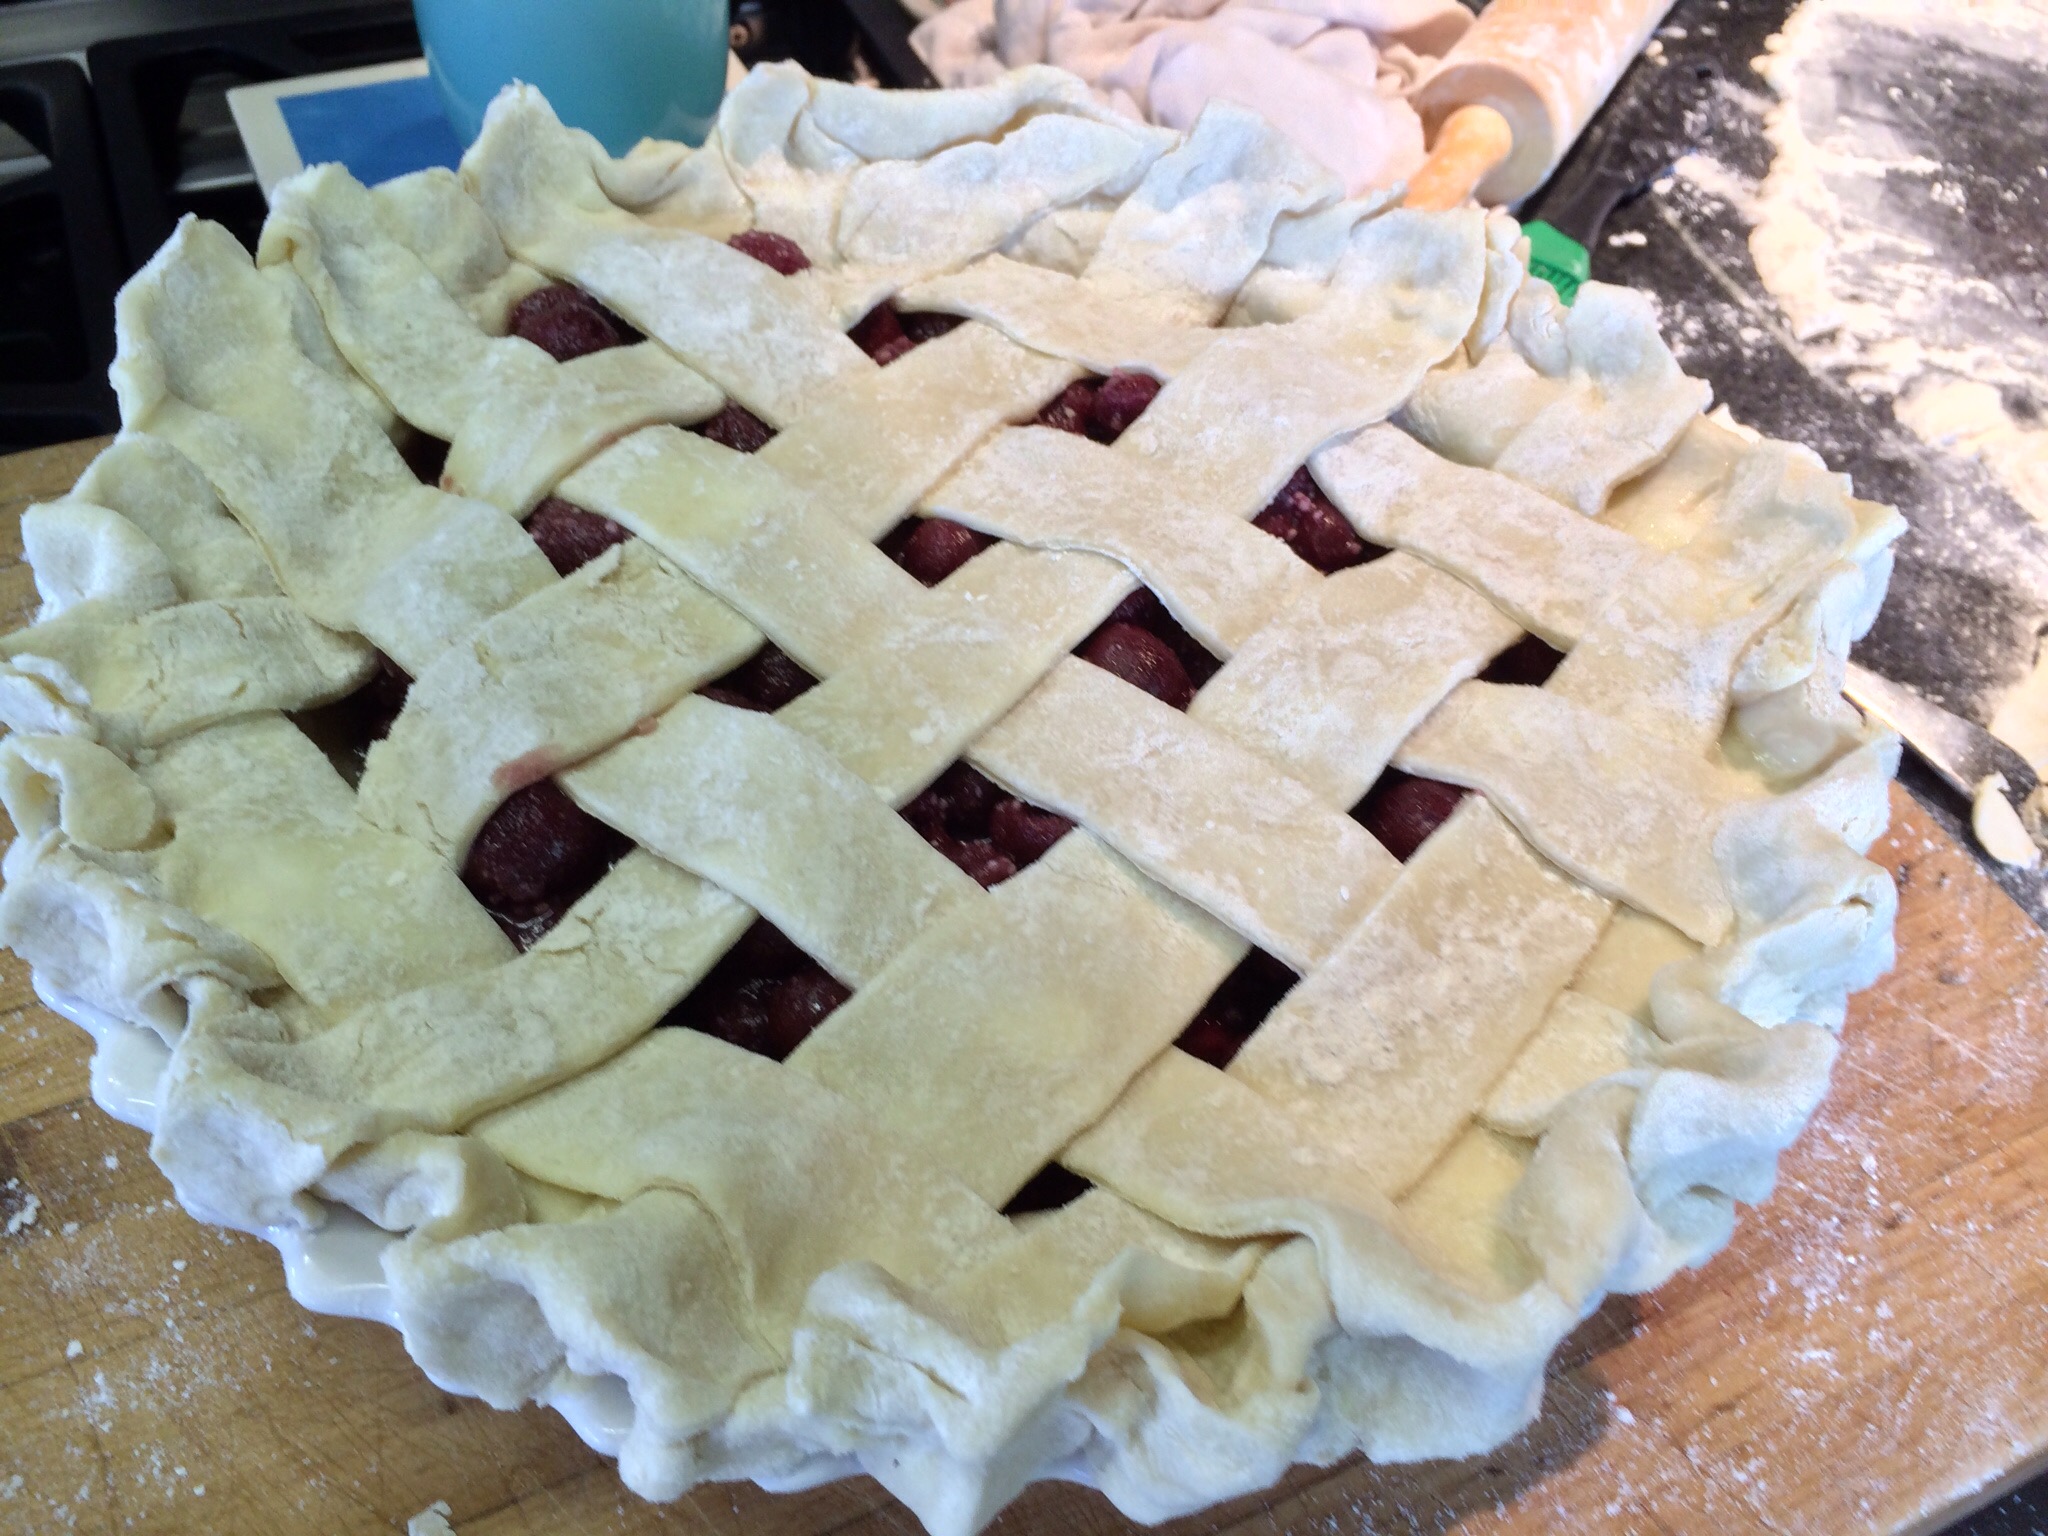
Fashion the edge however you wish, pressing dough pieces together
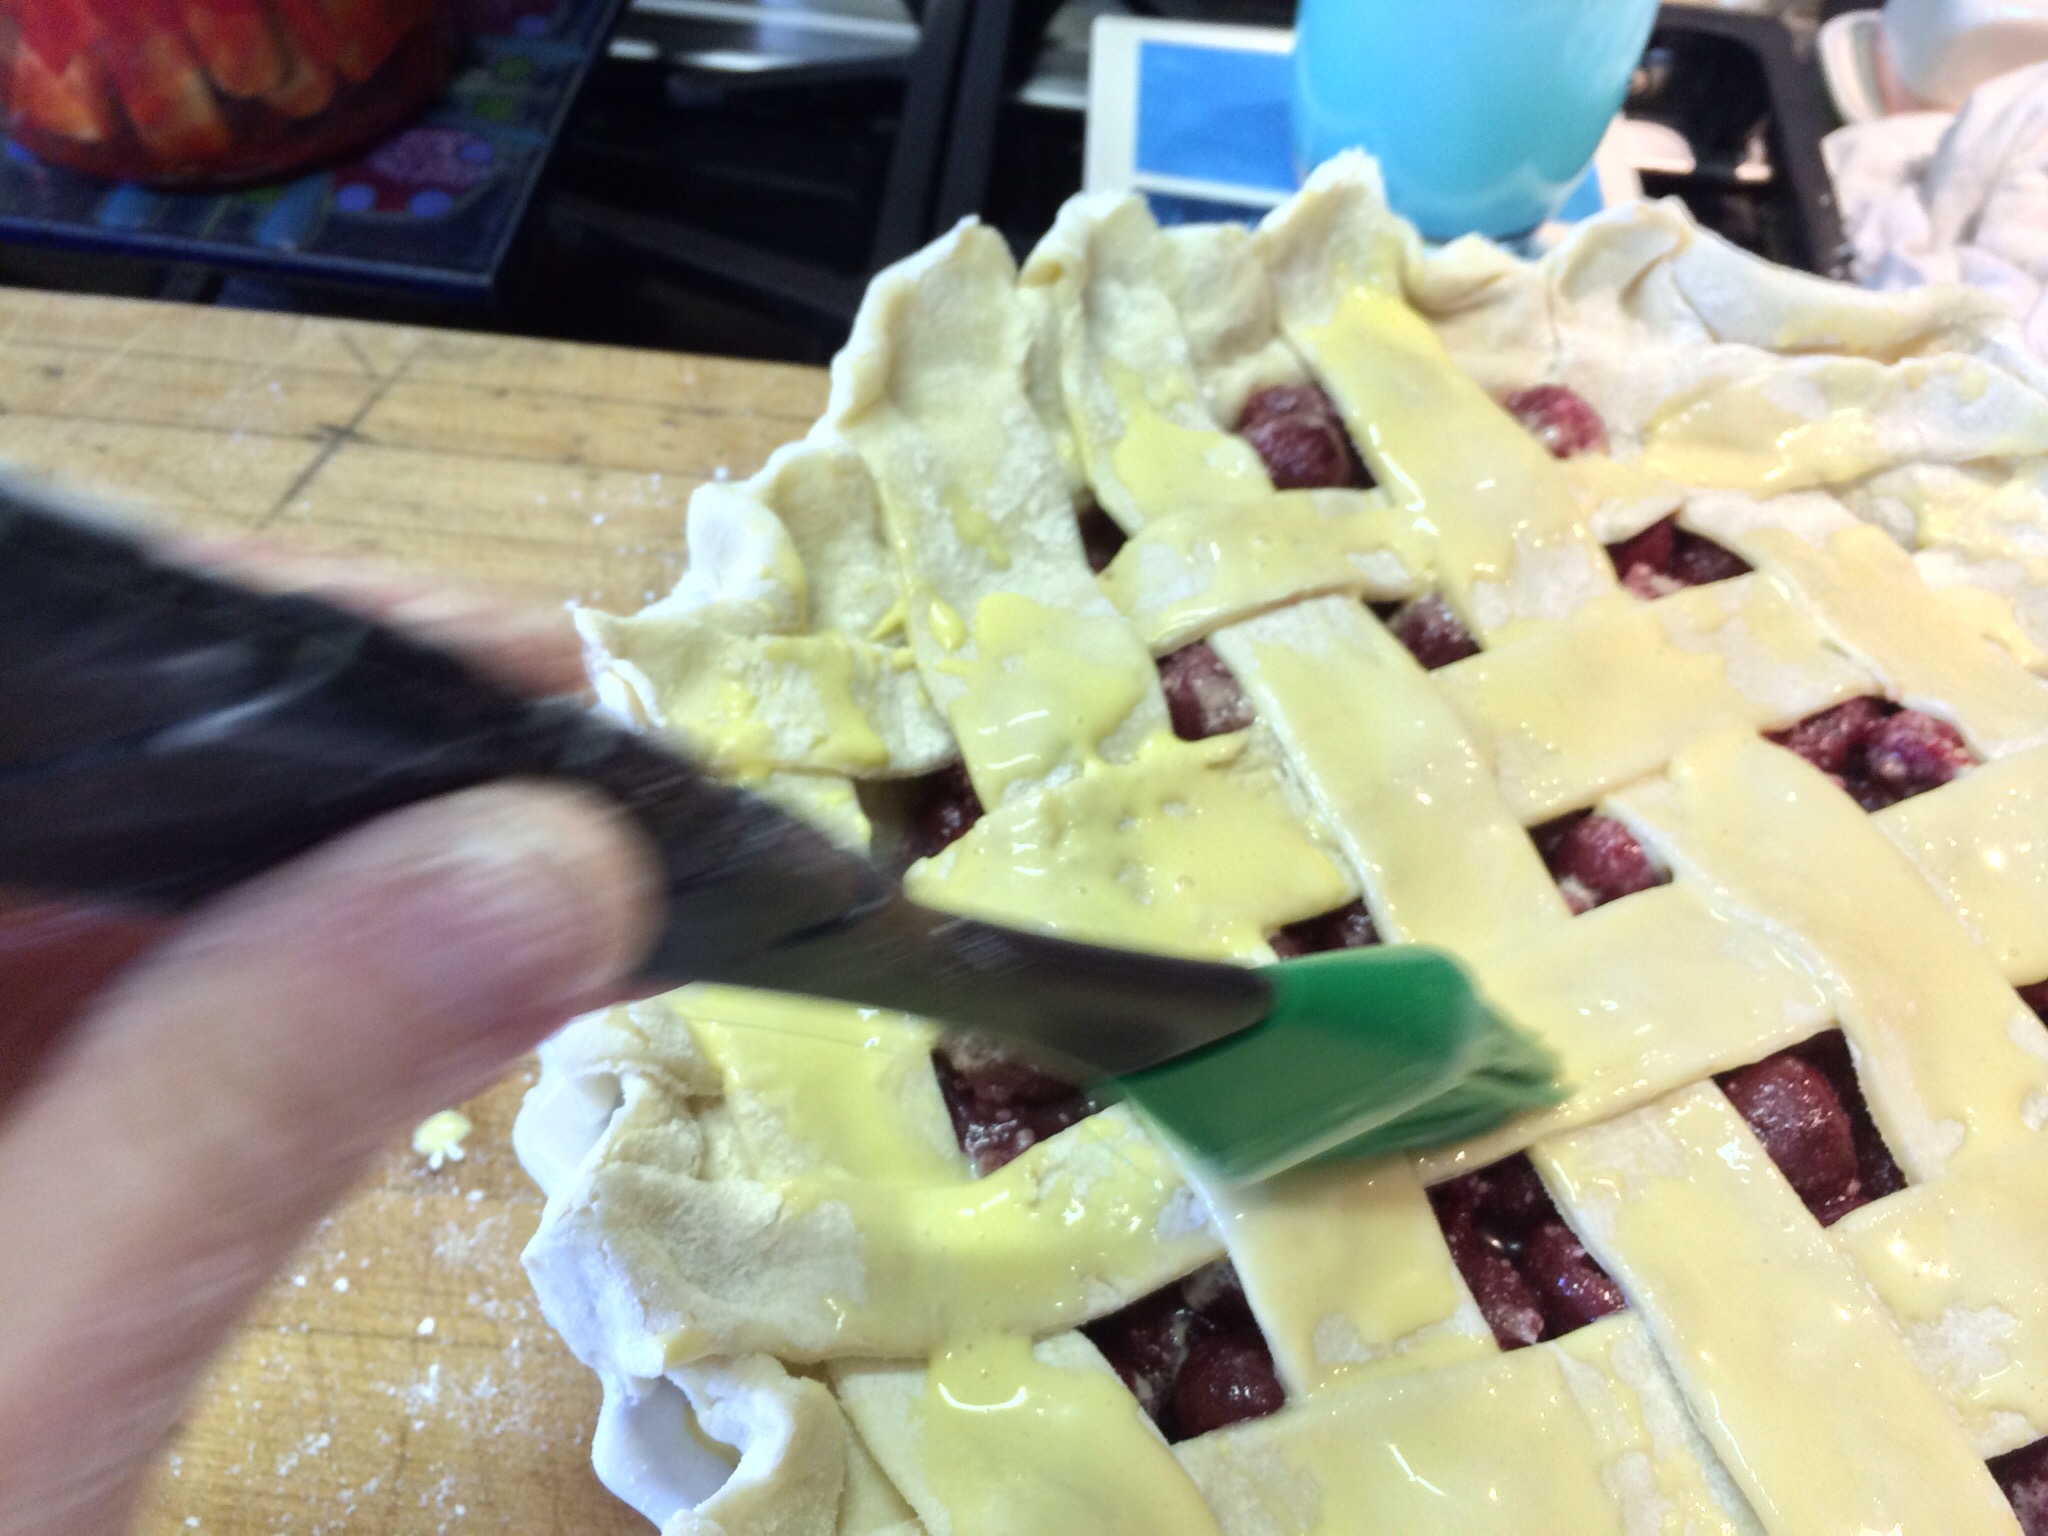
Brush with egg yolk/milk mixture
Baking:
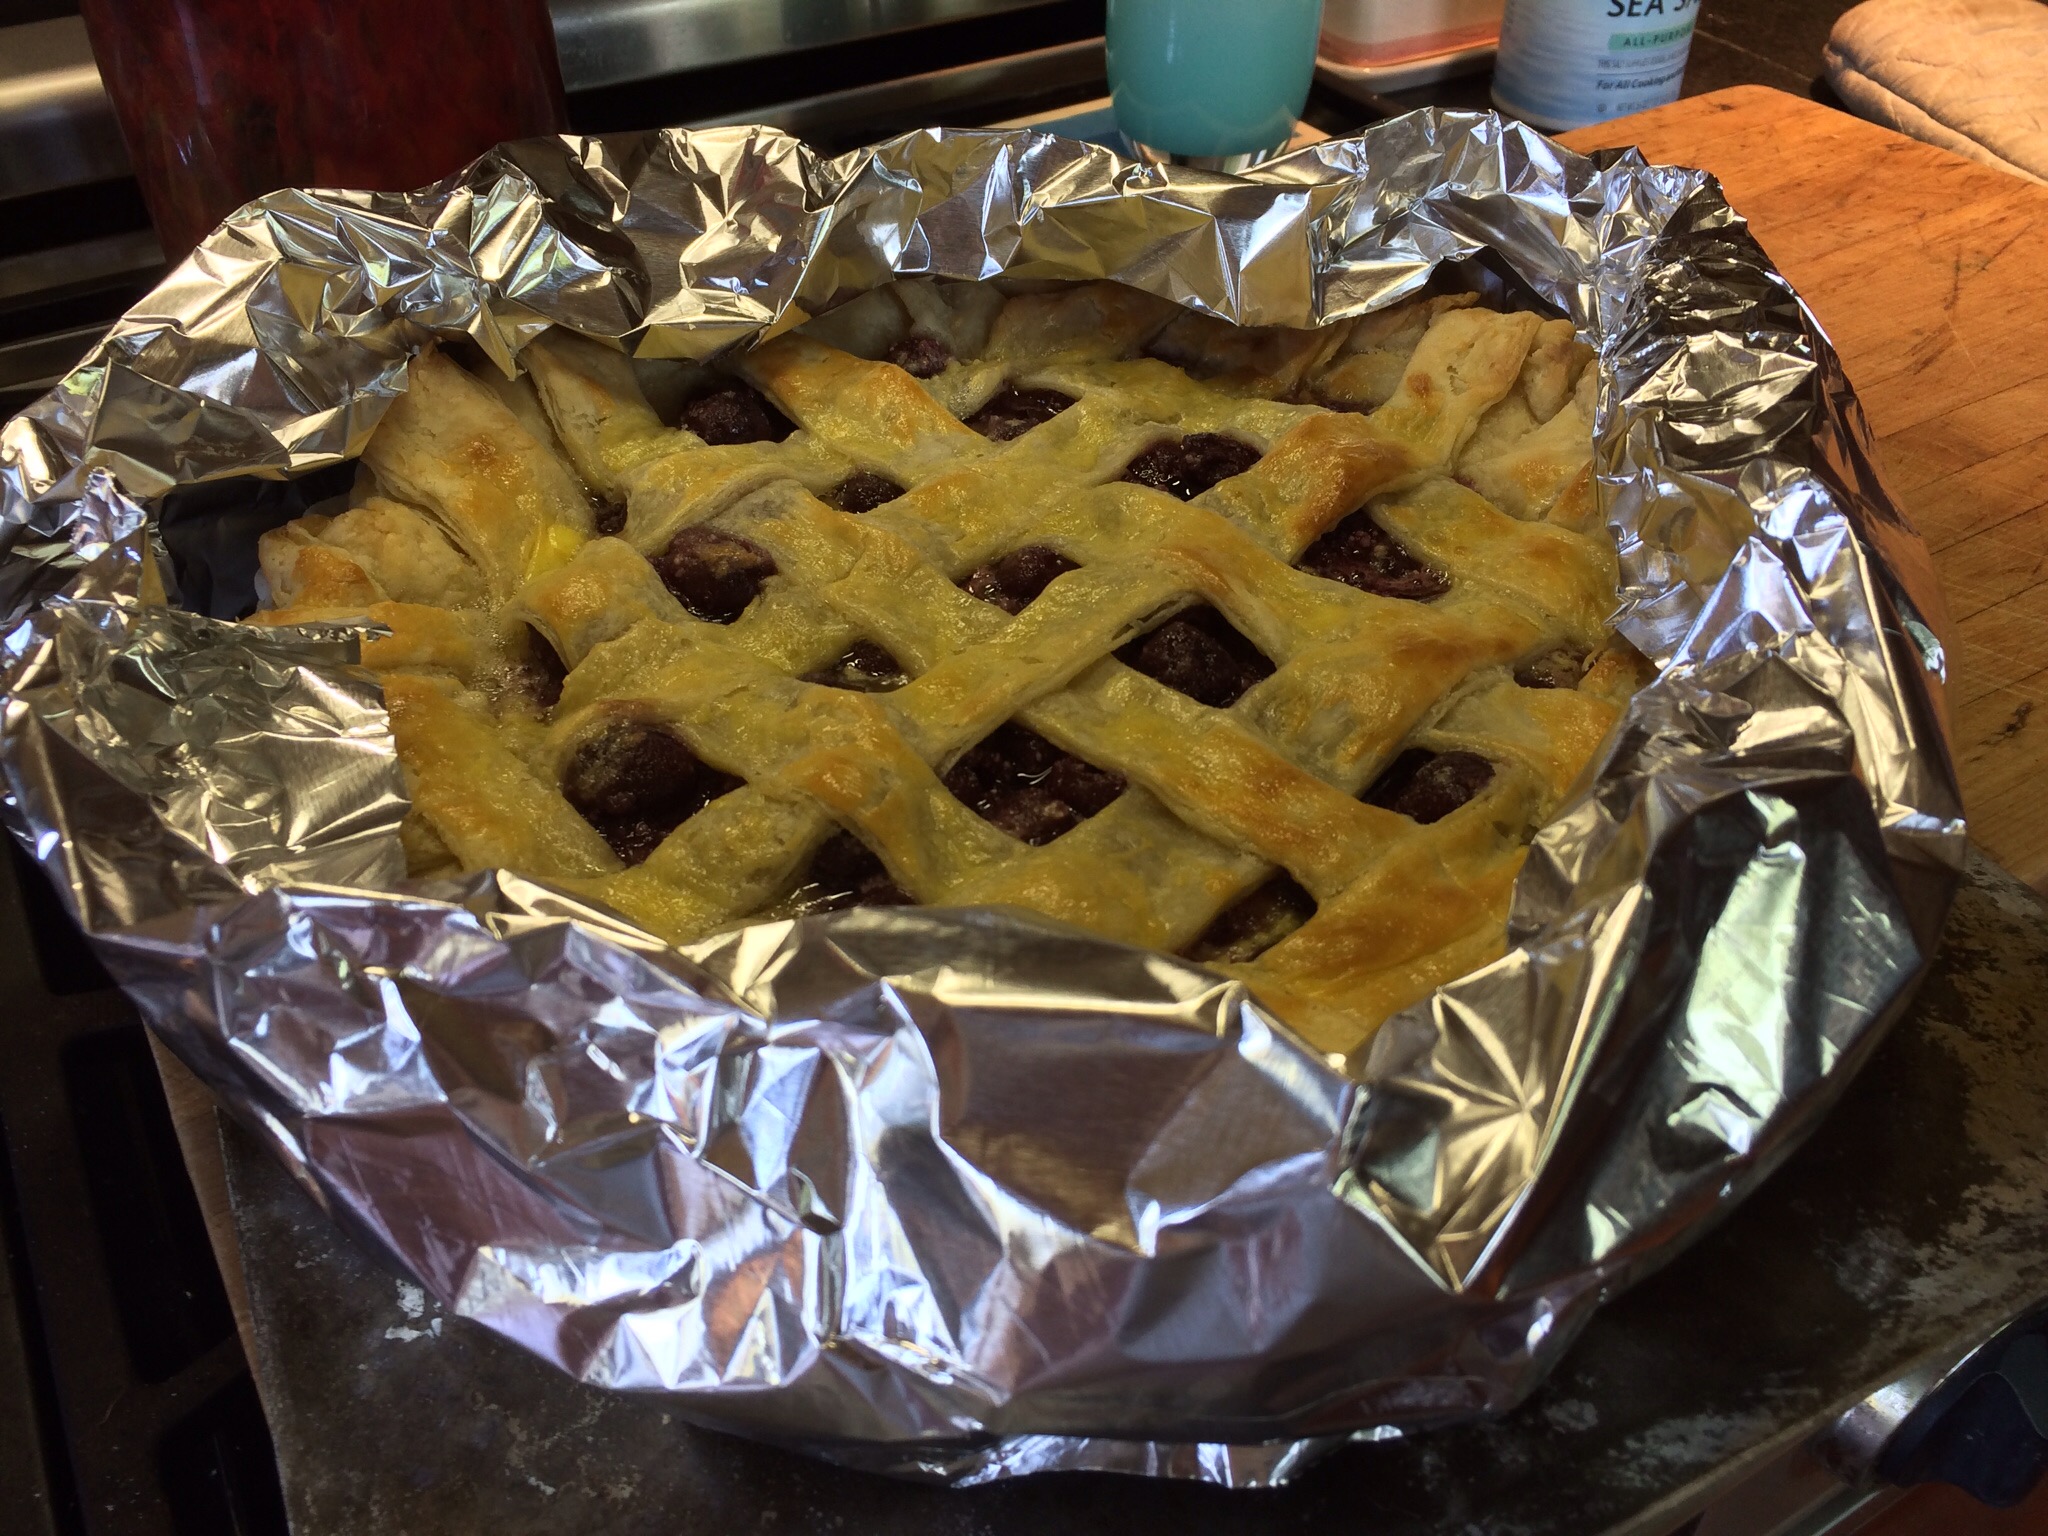
Brush the top of the crust with the egg yolk, mixed with a tablespoon or 2 of whole milk. Bake 45 mins, until edges of filling are bubbling out of the crust. Crust should be golden (note: my pie was a bit over baked, set my timer for too long. Stick to around 45 mins, and it should be perfect) If crust gets too brown, place foil strips around the edges.
When done, let pie cool a few hours, if you can resist it for that long! Enjoy with ice cream or whipped cream. Yummmmmm!

Overbaked a bit, maybe by 10-15 mins. Still delicious!?
Leave a Reply